Patholi

The festive month of Shravan
is here with lot of food varieties, as we get those things only during the
monsoon season. Likewise in this season we can find lot of fresh turmeric
leaves growing easily or available in the market. In Goa Patholis are
especially made on the Nag Panchami day by the Hindu community.
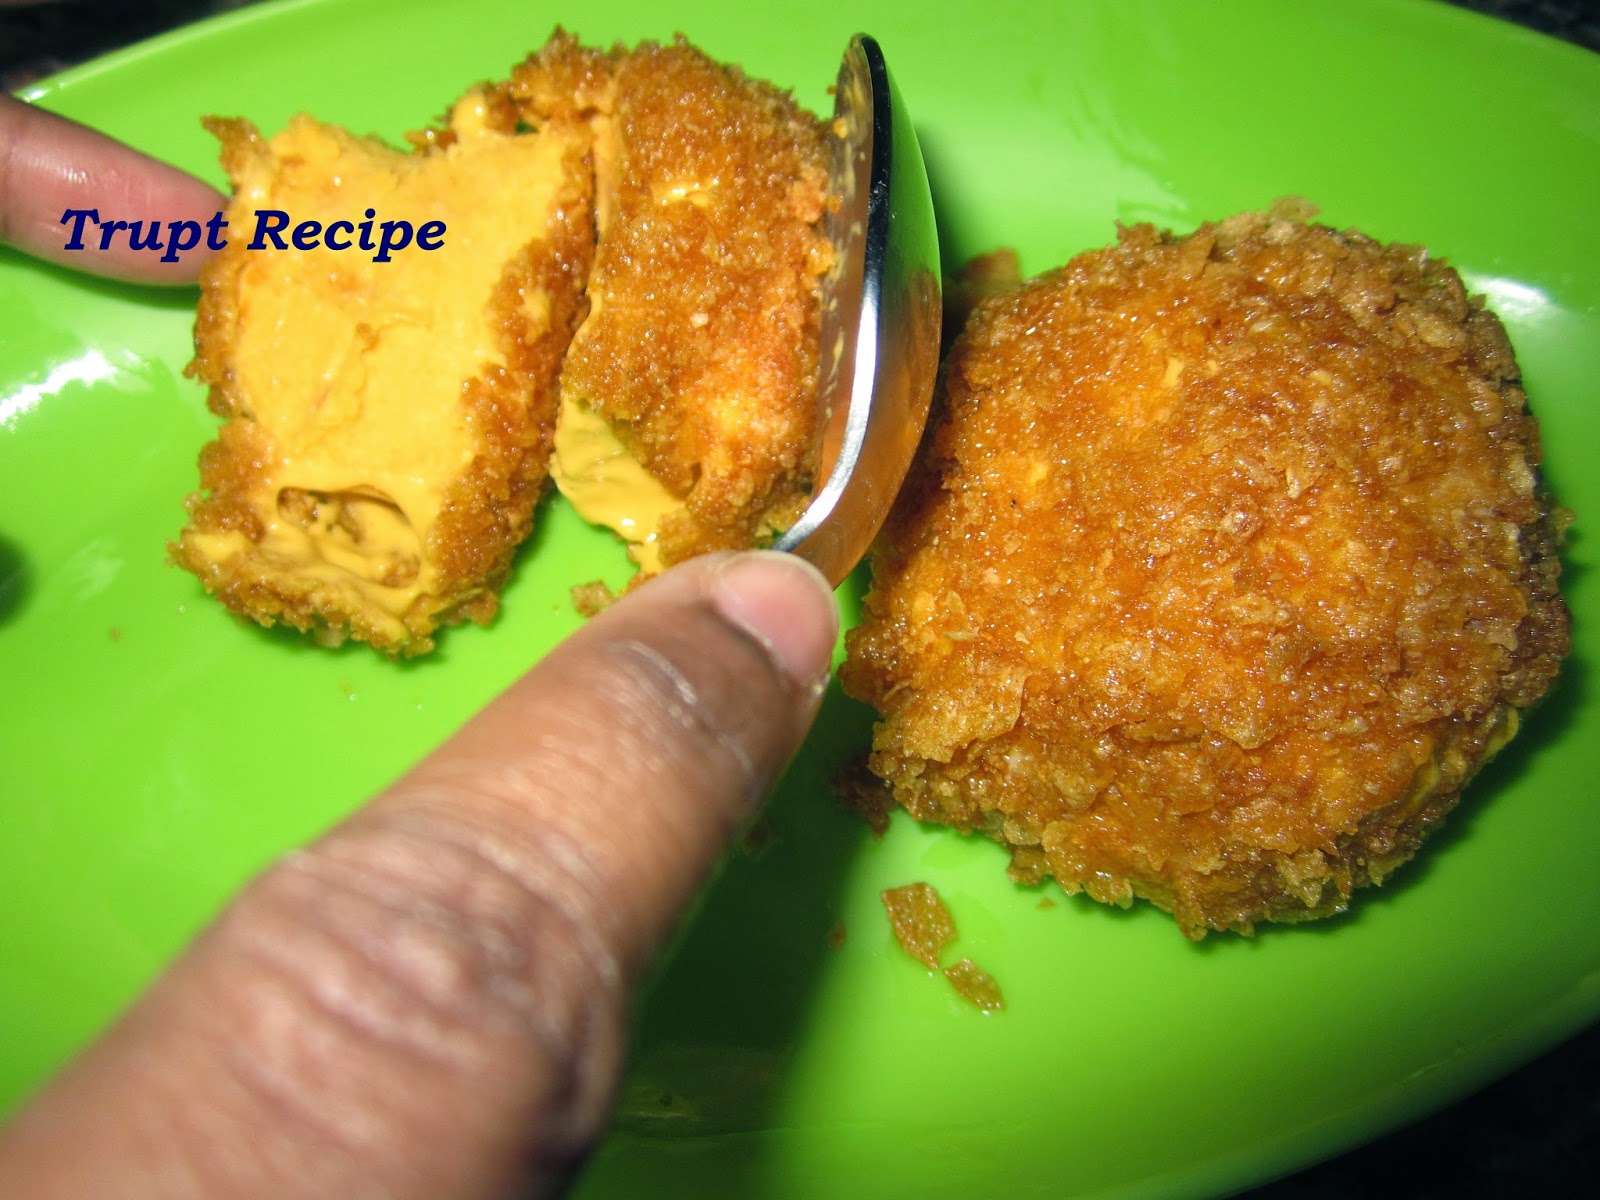
Patholi is a traditional Goan
/ Manglorean dish which is prepared with rice flour and stuffed with coconut
jaggery mixture and steamed in turmeric leaves. The main ingredient here is the
“ Turmeric leaves” which gives the special flavorful aroma. They are also prepared and offered as Naivedya
to Ganapati bappa.
Here we don’t find the
turmeric leaves, so had asked my MIL to send the turmeric leaves. These
pathlois can also be made in banana leaf but the special aroma of turmeric leaf
will be missing. The patholis prepared
in turmeric leaf are awesome to taste and the heavenly aroma of it will just
leave you totally indescribable.
 |
| Turmeric Leaves |
Ingredients:
3 -4 Fresh Turmeric leaves
1cup rice flour
1 cup water or as needed
Salt
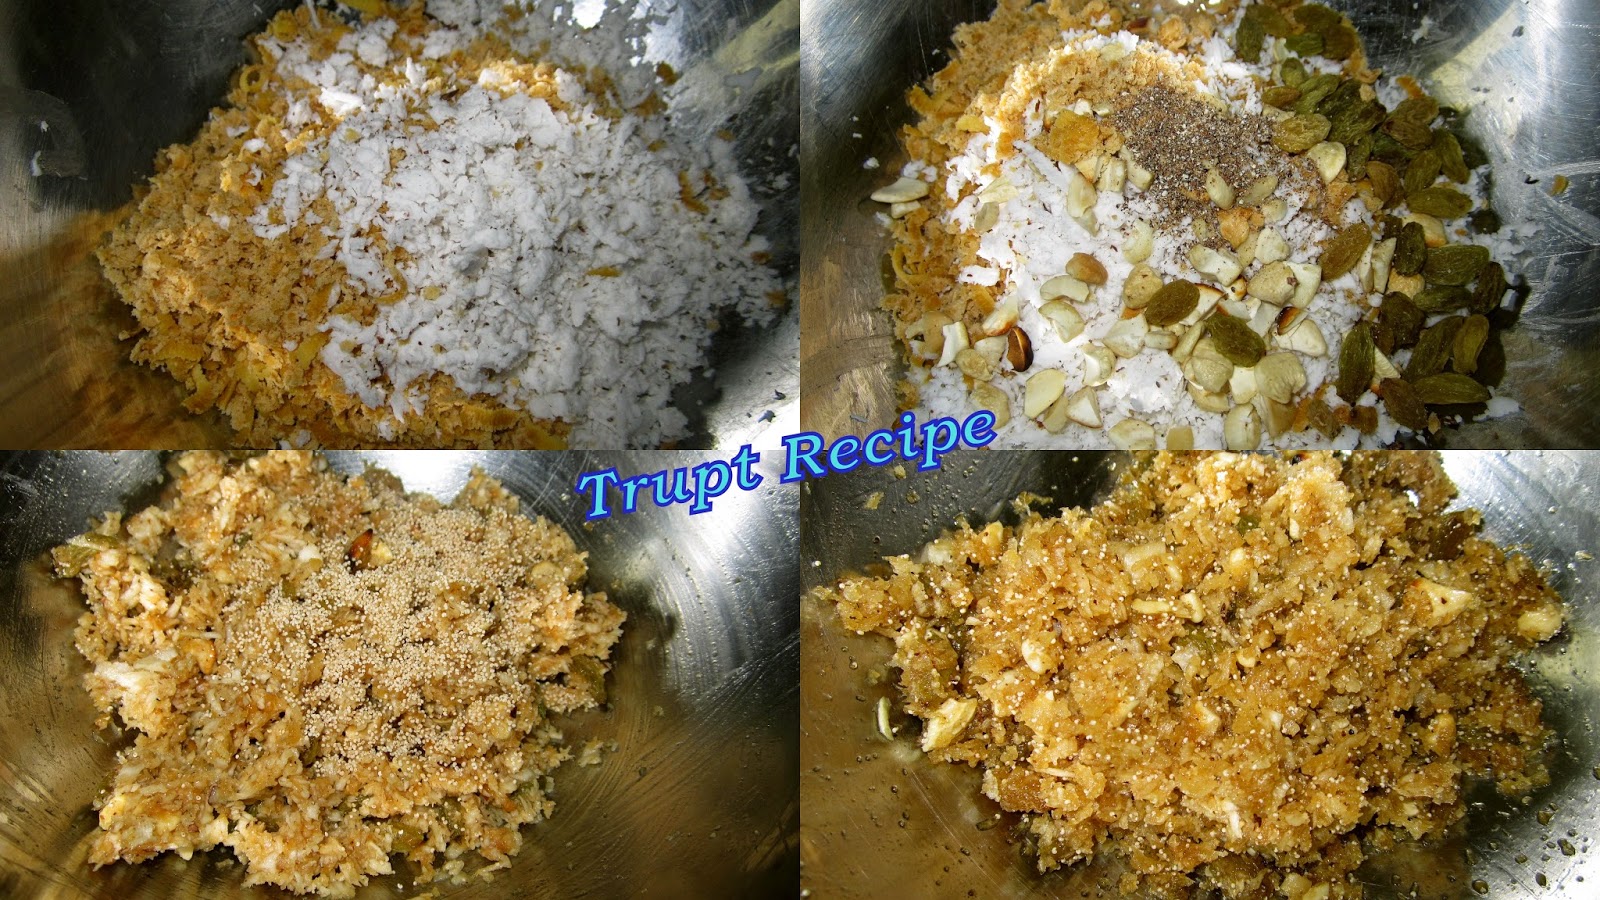
For Stuffing:
1 cup freshly scrapped
coconut
½ cup grated jaggery (adjust
the sweetness as per the ones sweet tooth)
5 Green cardamoms powdered
Few raisins and broken pieces
of cashewnuts
1 tblspn Khuskhus (optional)
Method:
1.
In a bowl add
rice flour, salt as per the taste and mix it with water to make thin sticky
dough and keep it aside.

2.
In another bowl
take freshly scrapped coconut, jaggery, cardamom powder, raisins and broken
pieces of cashewnuts. Mix it well.
3.
Wash and pat dry
the turmeric leaves. If the leaves are
large enough like the ones which I have cut them in half so that they can be
easily placed in the steamer too. Take the dough and the stuffing handy with
little water in a small bowl.
4.
Take a turmeric
leaf with vein side facing down. Spread the rice dough on the leaf using little
water to spread easily.

5.
Add the stuffing
mixture on one side of the leaf and fold the leaf. Patting it on all the sides
of the leaf to seal the edges. Repeat
the procedure with the remaining leaves.

6.
Place them in the
steamer and cook them for 20 minutes. By now your kitchen would be full of
heavenly aroma of turmeric leaves. “Be careful even neighbours might come to
check in J”

7.
Serve them warm
as it is or with little ghee on it.

###A very
special note: Turmeric leaf is used as aromatic wrapper, it is not meant to be eaten J
NOTE:
- Banana leaf can be used as a substitute for turmeric leafs but that special aroma and taste of turmeric will be missing.
- Sugar can also be used instead of Jaggery.
- Khuskhus, raisins and broken pieces of cashewnuts are fully optional.
- Depending upon the size of the leaf you can cut them half or if small leaves can be used whole.