Labels

Friday, June 6, 2014

Idiyappam

Idiyappam


Idiyappam is culinary specialty of Kerala, Tamil Nadu, southern areas of Karnataka but also seen in Sri Lanka. The name ‘’Idiyappam’’ derives from the words idi meaning ‘broken down’, and appam meaning ‘pancake’. This dish is also called in different names in different states or countries like- Noolappam, noolputtu, semige, sevaiya. The word nool means String or thread.

Idiyappam is made with minimal ingredients its quick and easy to make and can be served at breakfast or along with main course. It can be served with jaggery and coconut milk, alone with sugar for kids, but best accomplished with chicken curry, fish curry, egg curry, vegetable stew/ curry or kadla curry (black chana curry).

Lets get introduced first and foremost to Idiyappam maker, which is the most important part of the recipe. The most commonly used or available in the market these days is the below one with different types of disc patterns which you can change the disc depending on what you are making. So for our idiyappam recipe we need the disc with very fine holes.         


Now lets get started with the recipe.

Ingredients:
1 cup Rice flour
1 ½ cup water
Salt as per the taste
1 tblpsn Oil/ghee (I have used ghee)
¼ cup freshly grated coconut (optional)

**Use the same cup measurement for rice flour and water.

Method:
      1. Take a wide pan add water, ghee/ oil, and salt as per taste and let the water simmer on high or until you see the bubbles started appearing at the bottom of the pan.


      2. Put off the flame and add the rice flour to the simmering water, stir it with a wooden spatula to form sticky soft dough. You can keep the dough aside for sometime.


      3. When the dough is still warm knead the dough well with your hands to form nice and very soft dough.


      4. Place the fine holes disc in the idiyappam maker. Take a portion of the dough, make it into a cylindrical shape and place it in idiyappam press. Close the lid of press.


      5. Grease the idly trays with little oil or if using coconut sprinkle freshly grated coconut on the idly moulds. Turn the handle of the idiyappam in clockwise direction and let the noodles swirl on idli moulds in circular pattern don’t make mount of noodles just make 2 – 3 circular rounds of noodles.


     6. Steam them for 12 – 15mintues. Then remove from steamer and let it cool down for few minutes before spooning out in the plate.


      7. While still hot serve them with your favorite curry. I have served it kadla curry.


NOTE:

  • Sometimes depending upon the quality of the rice flour it soaks the water, you can always keep little more hot water ready and rice flour if required.
  • Don’t use boiling water it will cook the rice flour and make it hard to press; water just needs to be very hot.
  • If making idiyappams in bulk make sure you keep the dough covered with wet cloth. Best idiyappams are when the dough is still slightly hot. Or else make the dough in batches.
  • You can also sprinkle grated coconut on top of noodles to prevent the upper tray sticking them.
  •  If fresh banana leafs are available cut them in small rounds and press the idiyappams over it and steam, it gives a nice aroma and flavor to idiyappam.

Sunday, May 25, 2014

Mango Pickle – Ready to eat

Mango Pickle – Ready to eat


As the mangoes season has started, so thought of sharing this beautiful mouth watering recipe with you all. This recipe will surely add the extra “Ummmhhh” to every meal that you would serve this pickle with.  It is a ready to eat recipe but you can store this pickle for 1 year by adding oil as a preservative.

Ingredients:
1Kg Raw Mangoes
250 ml Oil
3 tblspn Mustard seeds
1 tspn Asafoetida (Hing)
3 – 4 tblspn Red chili powder (Adjust as per your spicy levels)
1 tblspnTurmeric Powder
3 tblspn Salt

Method:
     1. Wash the mangoes and wipe the mangoes with a clean dry cloth. Cut them into small pieces.


    2. Heat the oil in a pan and add mustard seeds, once the seeds crackle add asafoetida, turmeric and red chili powder and mix them nicely.


    3. Reduce the flame to low and add the raw mangoes to it and mix well till all the mangoes are coated well with the spicy mixture.


    4. Add salt and mix well.

    5. Your pickle is ready to eat, you can keep the pickle in refrigerator for 15 days.

    6. To preserve the pickle for longer period, heat oil to the boiling point, let it cool down to room temperature and then pour it on the pickle. Mix well with a dry spoon and store it in an airtight container. The oil should be above the pickle.


NOTE:
    1. The reason to wipe the mangoes dry, as we don’t want a traces of water in our pickle otherwise the pickle will get spoiled.
    2. Spiciness of the red chili powder needs to be adjusted as per the family taste buds.
    3. Oil acts as a preservative in storing the pickle.
    4. If using the same recipe for preserving the pickle for more than 1yr then use Mustard oil or Sesame oil. Otherwise use the normal cooking oil.

Friday, May 23, 2014

Chicken Biryani Restaurant Style

Chicken Biryani Restaurant Style


Ingredients:
Chicken 1.5kg
Long grain basmati Rice 700 gms
Shahi jeera 1tblspn
Bay leaf 3 nos.
3 nos. Onions fried in ghee
50 gms Cashew roasted in ghee
50 gms Raisins roasted in ghee
1 cup freshly chopped Mint and coriander leaves
½ cup milk
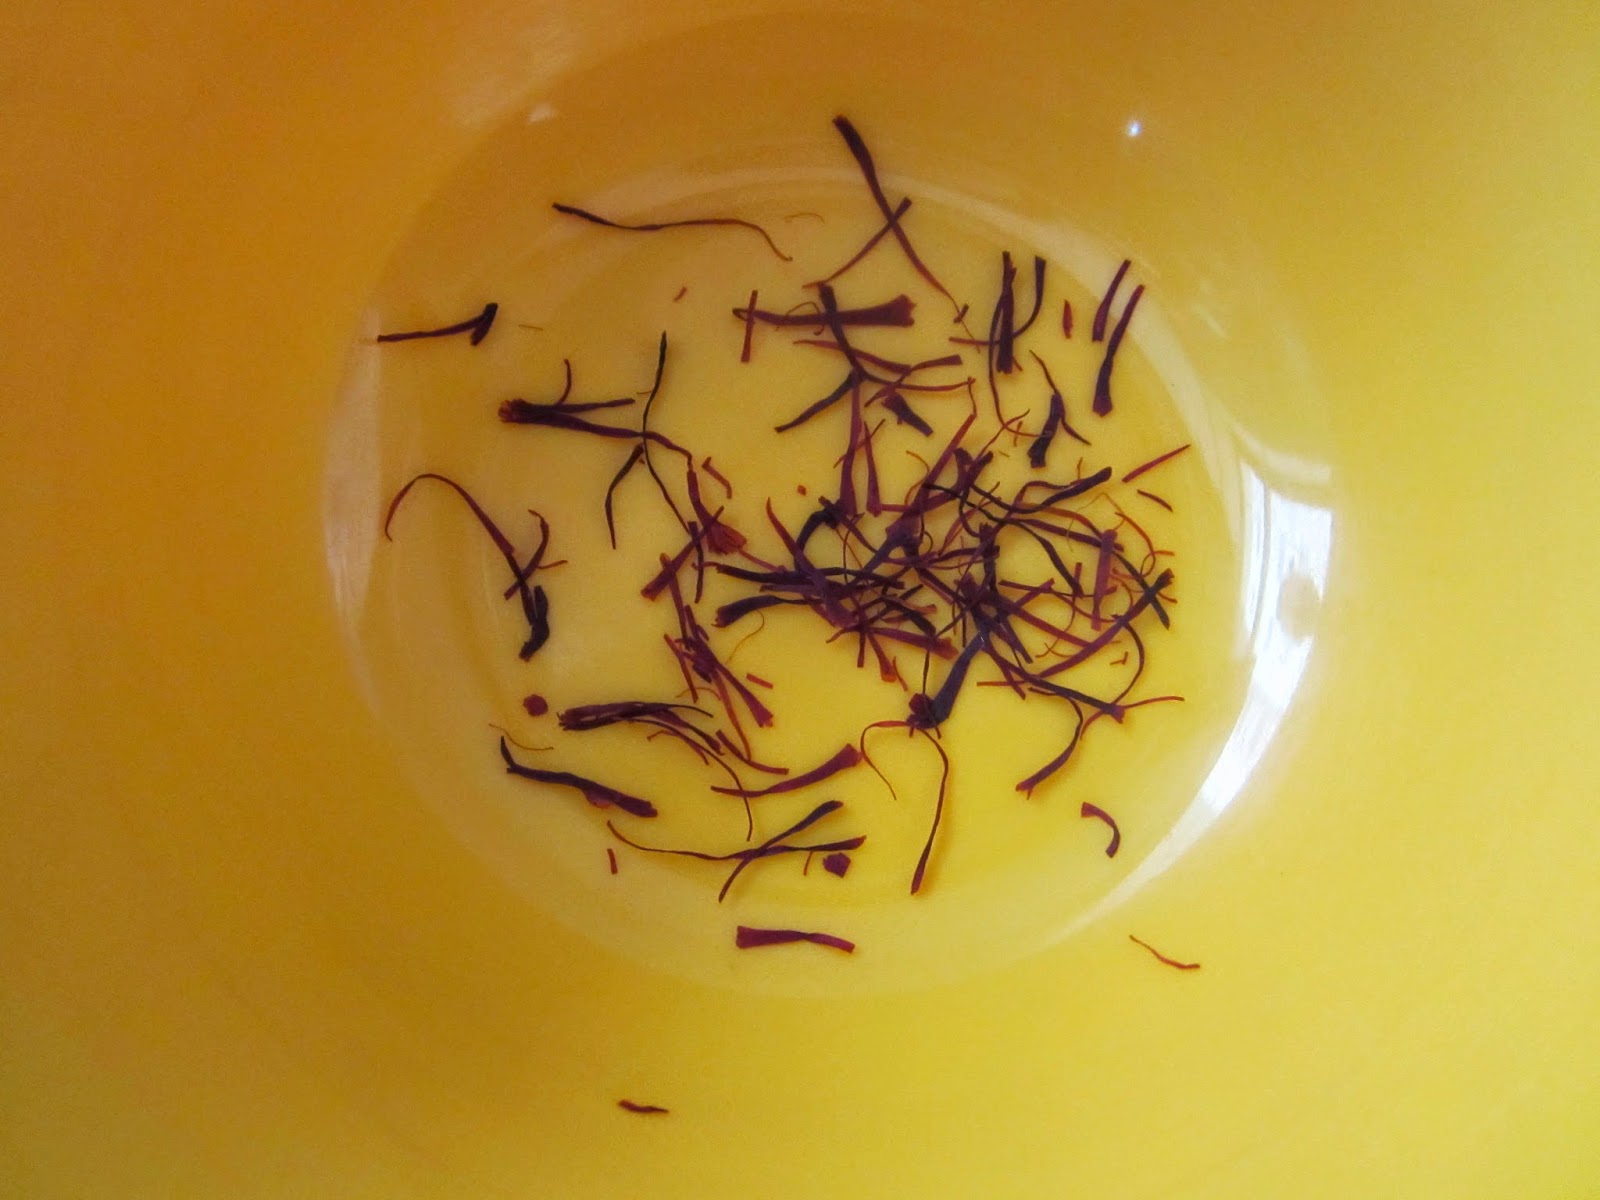
Few Safforn strands
Rose and Kewda water
Salt

Powder the below ingredients:
Bay leaf
Star aniseed
Cinnamon stick 2”
Cloves 4 nos.
Cardamoms 6 nos.
Dagad Phool 1 teaspoon
Peppercorns 6 nos.
Mace 2 nos.

Marination:
Curd 500 gms
Coriander powder 1 tblspn
Red chilly powder 2 tblspn
Pinch of turmeric
Ginger garlic paste 1 tblspn
Slit open Green chilies 5 nos.
Lemon juice 2 tblspn
1 cup fresh Coriander and Mint leaves chopped
½ cup Oil
Salt to taste

1cup Maida
Water as required for preparing the dough for dum

Method:
1.    Powder the ingredients listed and store in a air tight container.
2.    Marinate the chicken with all the ingredients noted below the ‘Marination’.  Cover the bowl with a cling wrap and refrigerate it overnight or atleast for 3 hrs.


3.    Heat water in a vessel and let it boil. Add salt only for the rice (remember we have already added slat in chicken marination), Shahi jeera, bay leafs and then add the washed rice (which has been soaked for 1 hr). Cook the rice till its 70% cooked.


4.    In the mean time boil the milk with saffron strands.


5.    In a heavy bottomed pan put the marinated chicken and then layer it with rice, saffron milk, rose water and kewda water, fried onions, cashew nuts, raisins and sprinkle freshly chopped mint and coriander leaves. (You can make 2 -3 layers of rice with the same procedure) I normally make 2 layers of rice.


6.    Prepare sticky dough of maida and line it on the edges of the biryani pan and seal it with a lid. Check for any openings and seal the same.

7.    Put the biryani pan direct on high flame for 20 mins then keep the flat pan on direct flame below the biryani pot and reduce the flame to low for next 20 mins. After 20 -30 mins its ready to open the lid of biryani pot. (Open the seal with the help of knife)


8.    Your biryani is ready to serve with raita J


NOTE:

1. Never mix the biryani, just insert the spatula in the side of the biryani straight deep in and check the bottom of the vessel.

2. Always use thick heavy bottomed pan for biryani. Pressure cooker is best.


3. Remember we are adding the salt in chicken marination as well as while cooking the rice so add accordingly.

Wednesday, May 21, 2014

Egg Nest

Egg Nest 


They’re fun and so pretty for an Easter treat, but really a messy project who don’t mind licking the chocolate off their fingers!!!

Ingredients:
1 cup chow mein noodles/ Sevaiya
1 ½ cup Chocolate chips of your choice (milk chocolate/ dark chocolate)
½ tblspn unsalted butter
¼ tspn vanilla extract
Egg-shaped candies (jelly beans, M&M)
Aluminum sheet
Non- stick cooking spray

Method:
1.     Spray the aluminium foil with cooking oil and set aside.

2.     Melt the chocolate and butter in a bowl over a pan of slow simmering water. Once the chocolate is almost melted, remove from the heat and add vanilla drops and stir it well until fully melted.


3.     Add the noodles to chocolate and gently mix until thoroughly coated.


4.     Scoop out 2 – 3 tblpsn of noodle mixture on the foil in the shape of a nest.


5.     Place egg shaped candies in the center of the nest while the chocolate is still warm so that it sticks. Allow to cool at room temperate, so that it hardens and retains its shape.


6.     You can store these leftovers in the airtight container and keep them in the refrigerator for longer.